Recipes
-
THE MASTERS EGG SALAD SANDWICH RECIPE
-
Awesome and Easy Creamy Corn Casserole
-
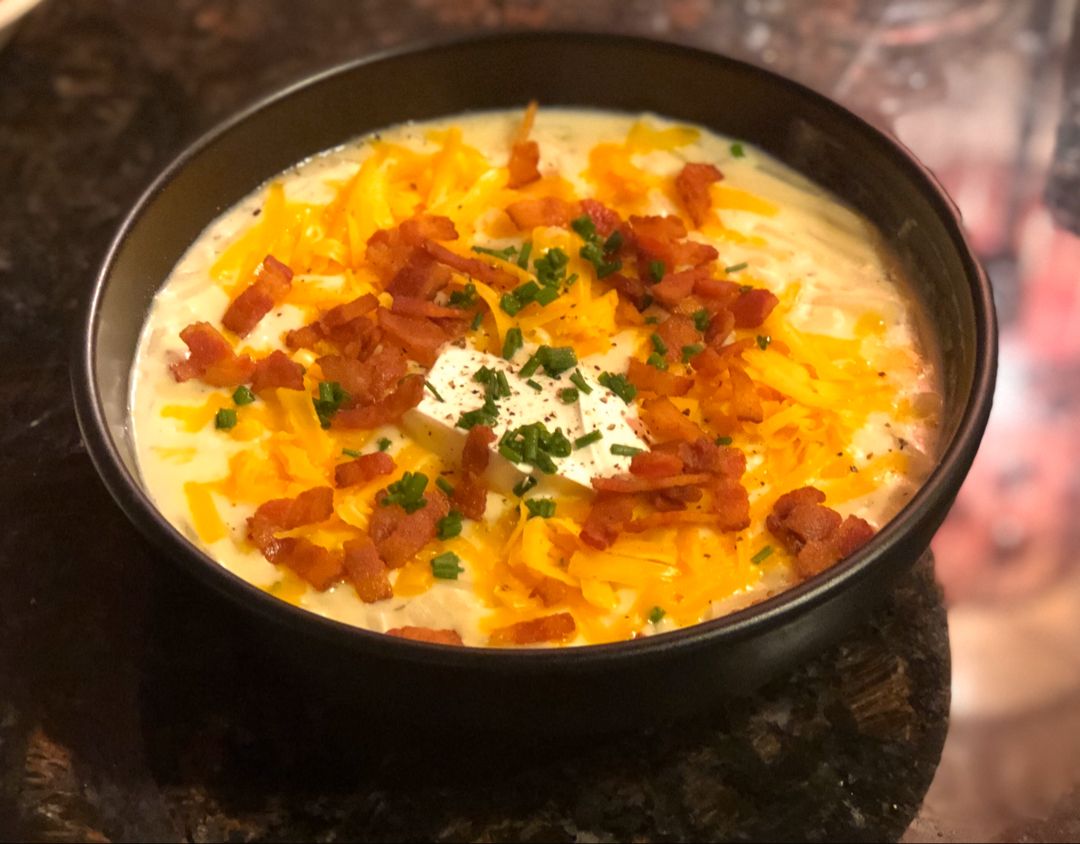
Creamy Potato & Hamburger Soup
-
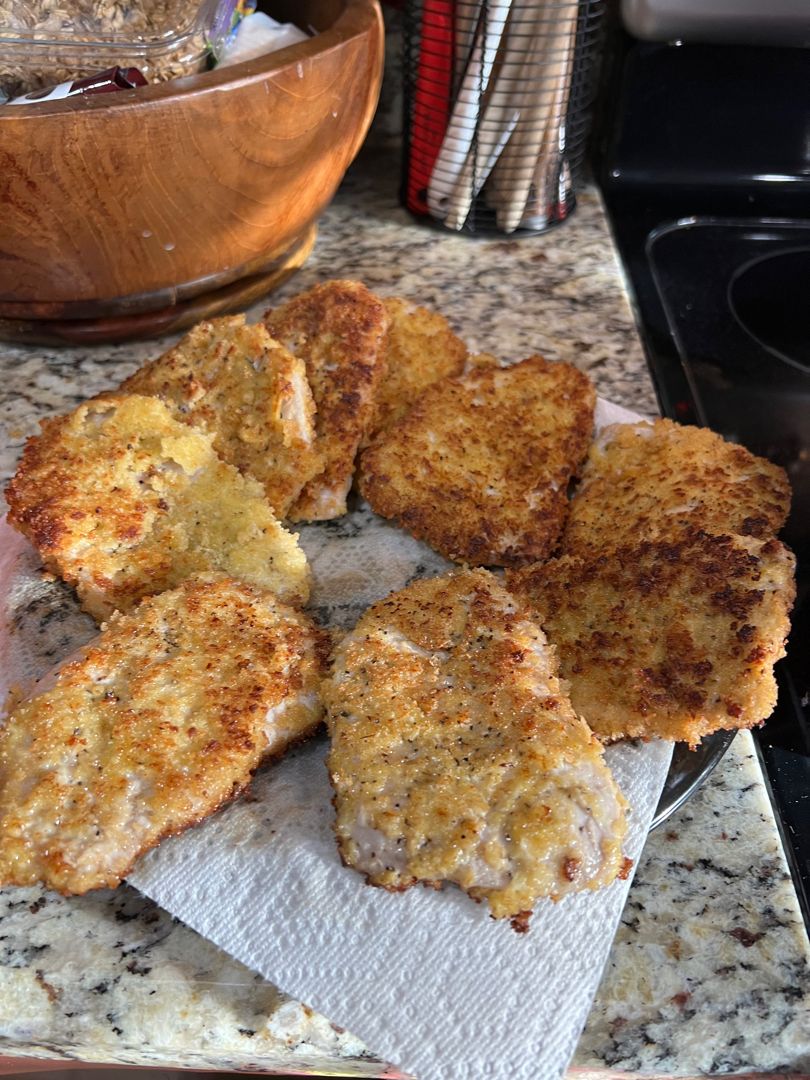
Parmesan Crusted Pork Chops
-
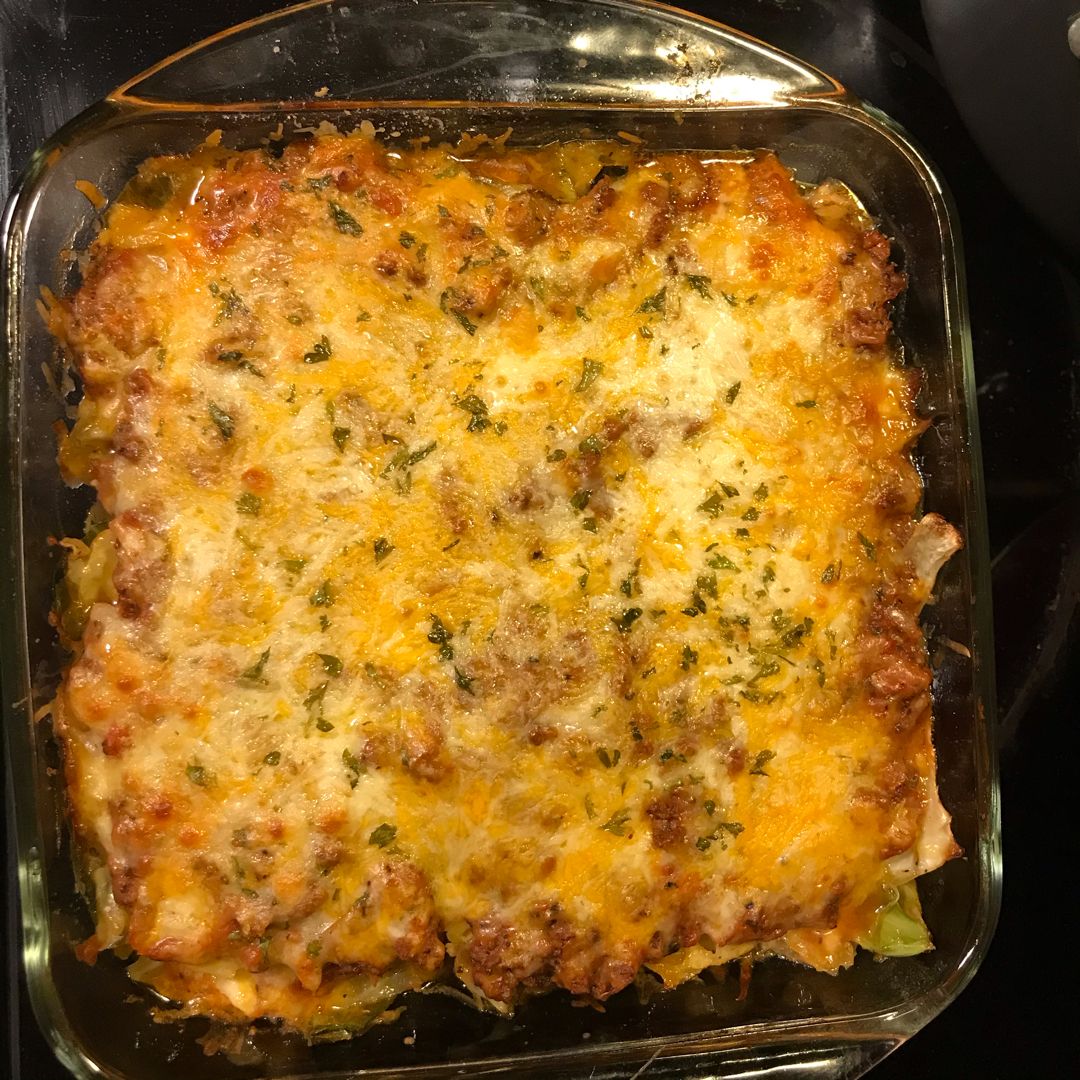
Quick And Easy Cabbage Roll Casserole
-
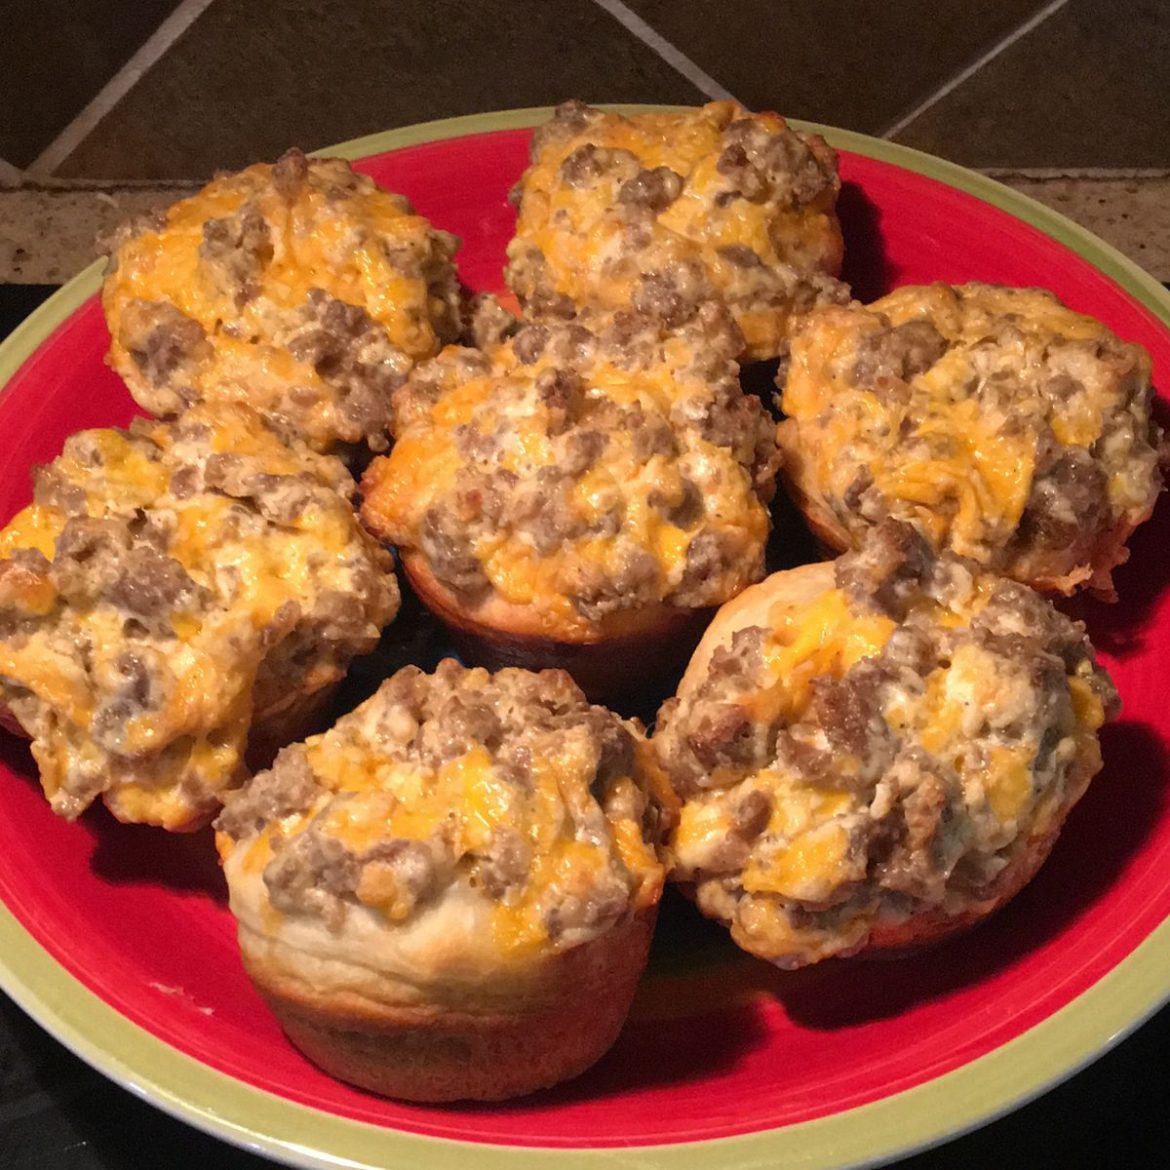
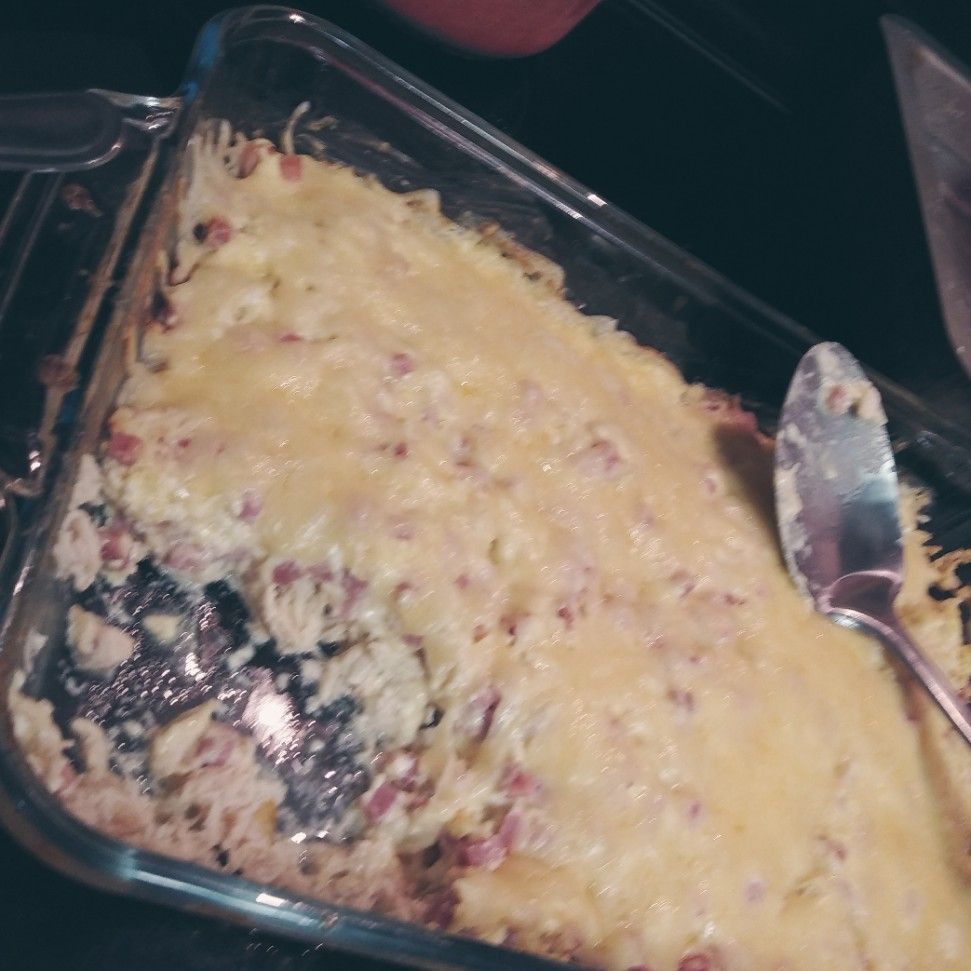
Sausage and Cream Cheese Biscuit Bites
-
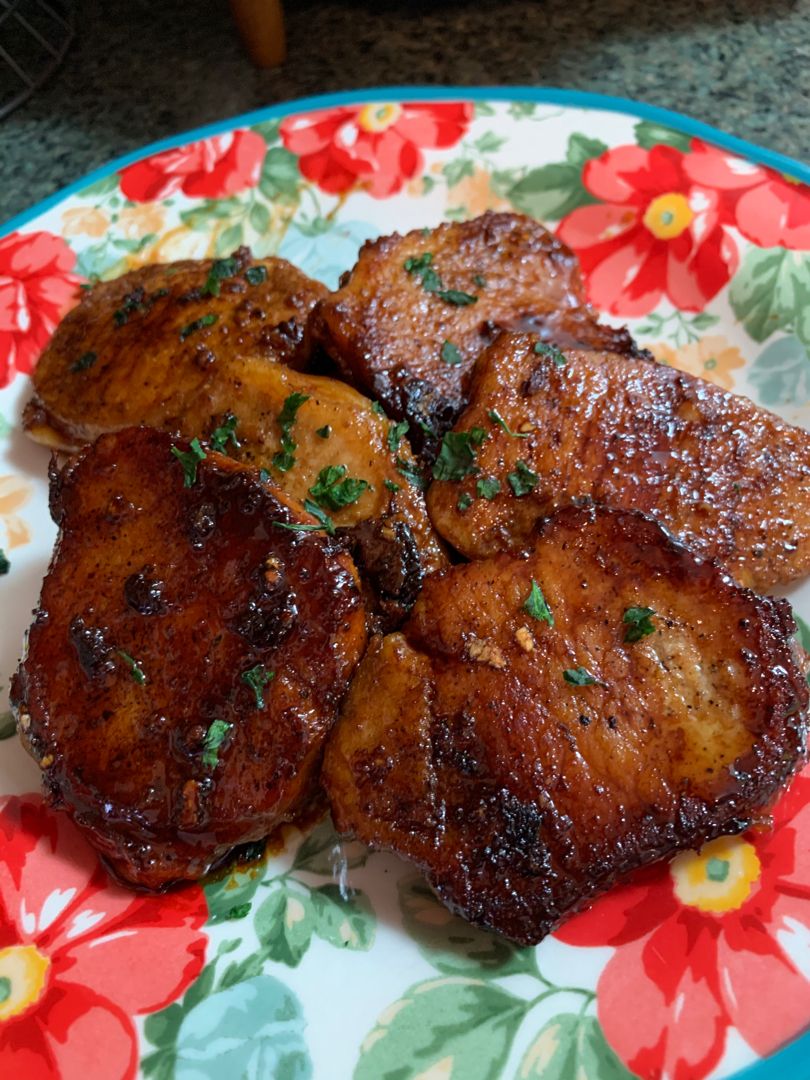
Honey Garlic Boneless Chops That Will Never Be Boring
-
Slow Cooker Crack Chicken Potato Soup
-
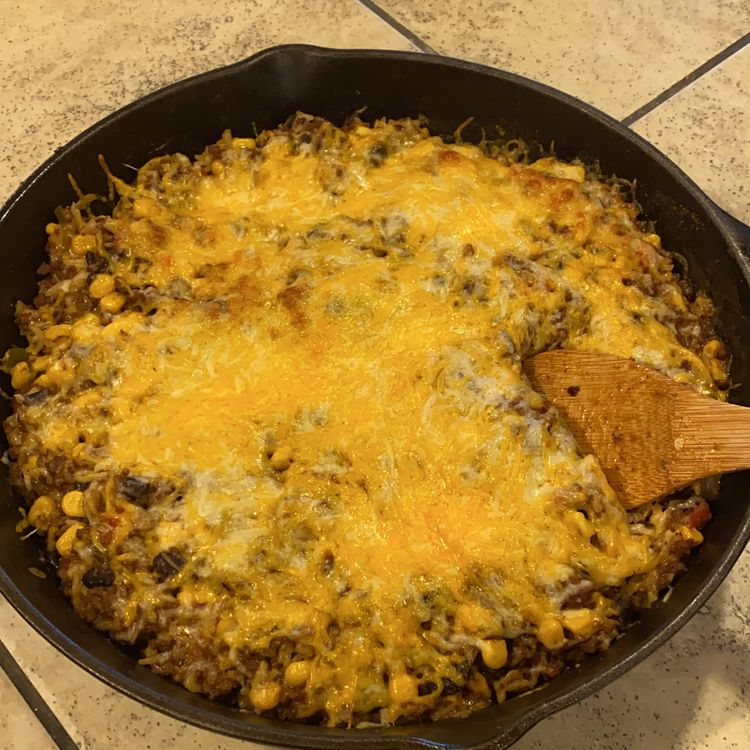
Taco Rice
-
Chicken Cordon Bleu Casserole – Low Carb