Recipes
-
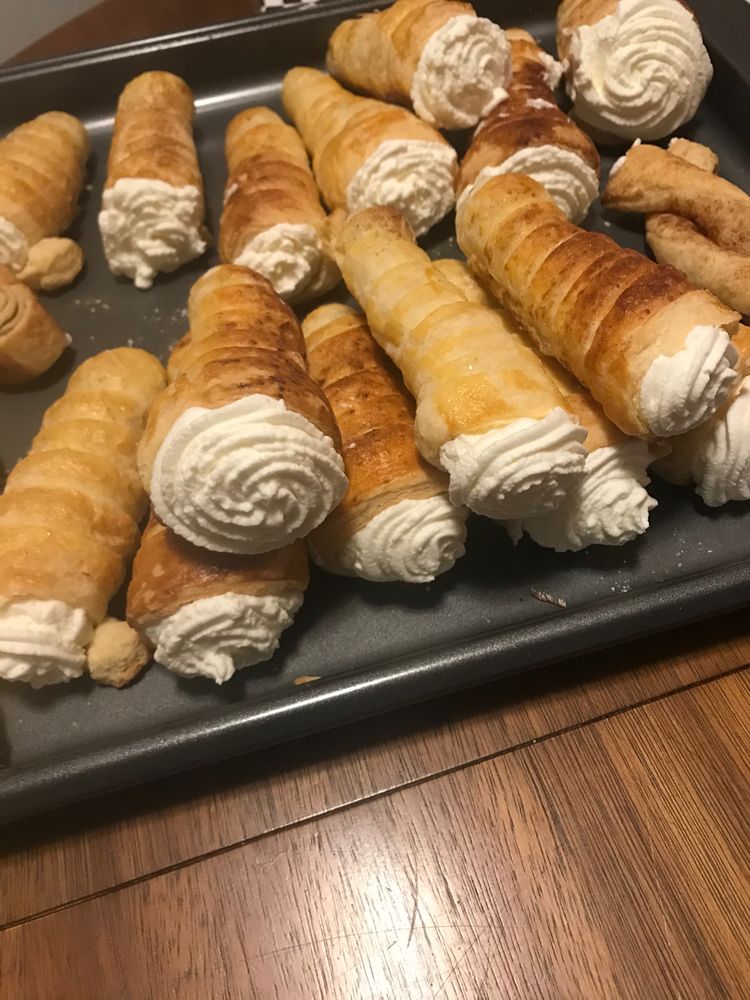
Puff Pastry Cream Horns
-
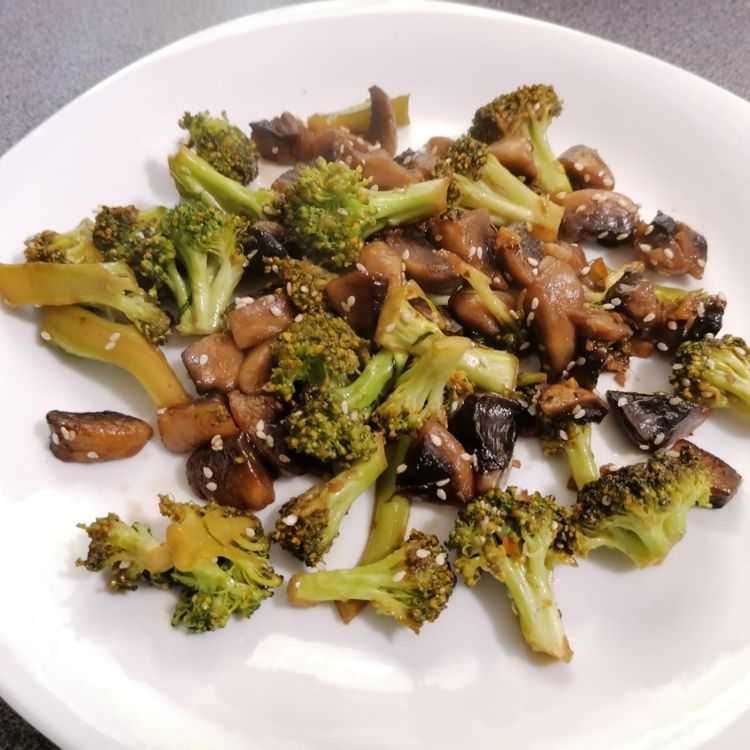
Broccoli and Mushroom Stir-Fry
-
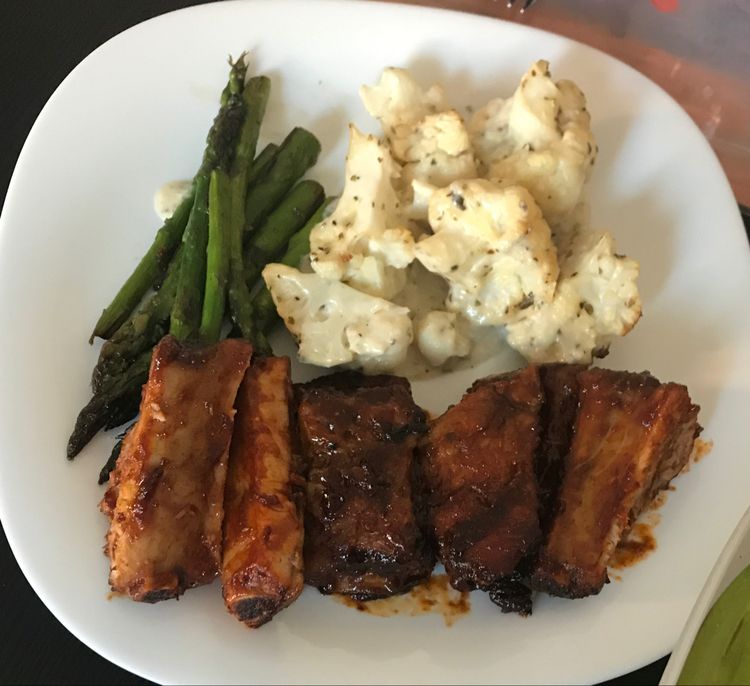
Tender Oven Baked BBQ Ribs That Fall Off the Bone
-
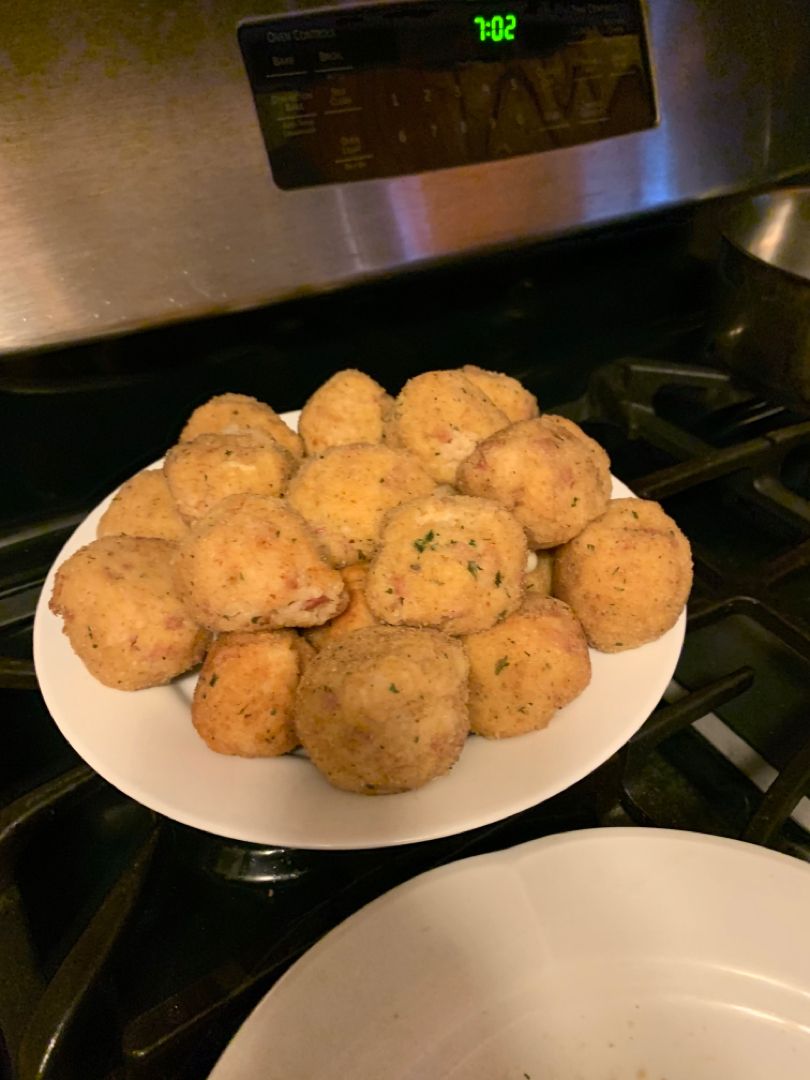
Arancini Rice Balls
-
Slow Cooker Olive Garden Chicken Pasta
-
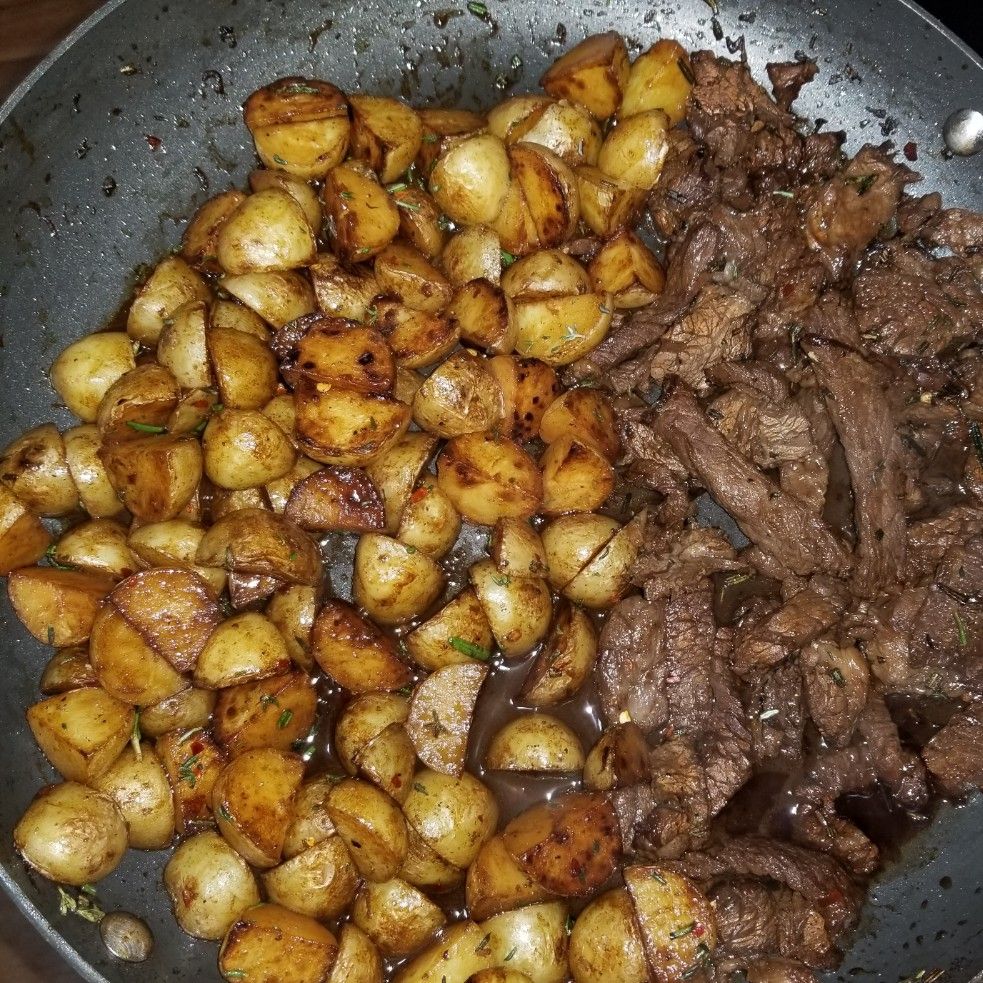
Garlic Butter Steak and Potatoes Skillet
-
Steamed Chicken with Black Bean Sauce
-
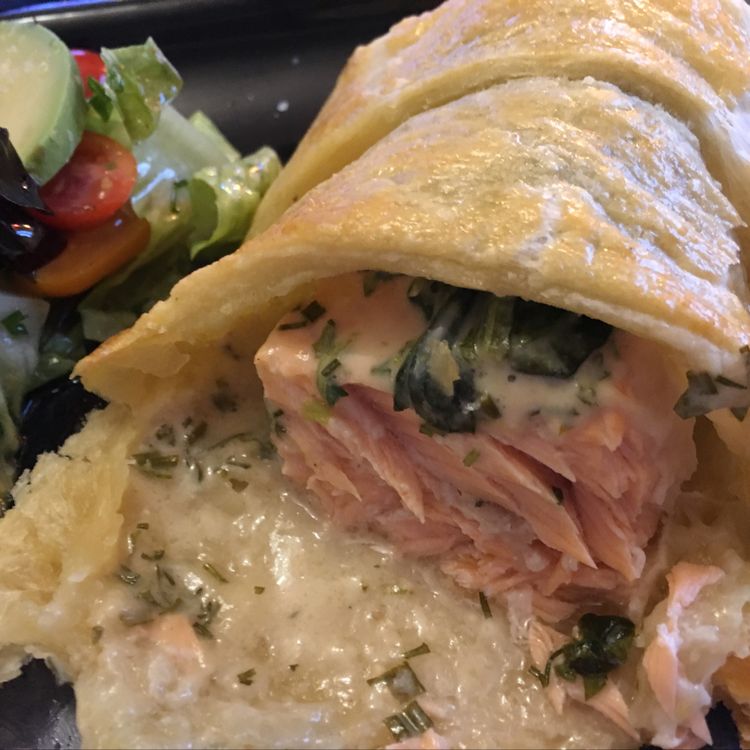
Herb Coated Salmon in Puff Pastry
-
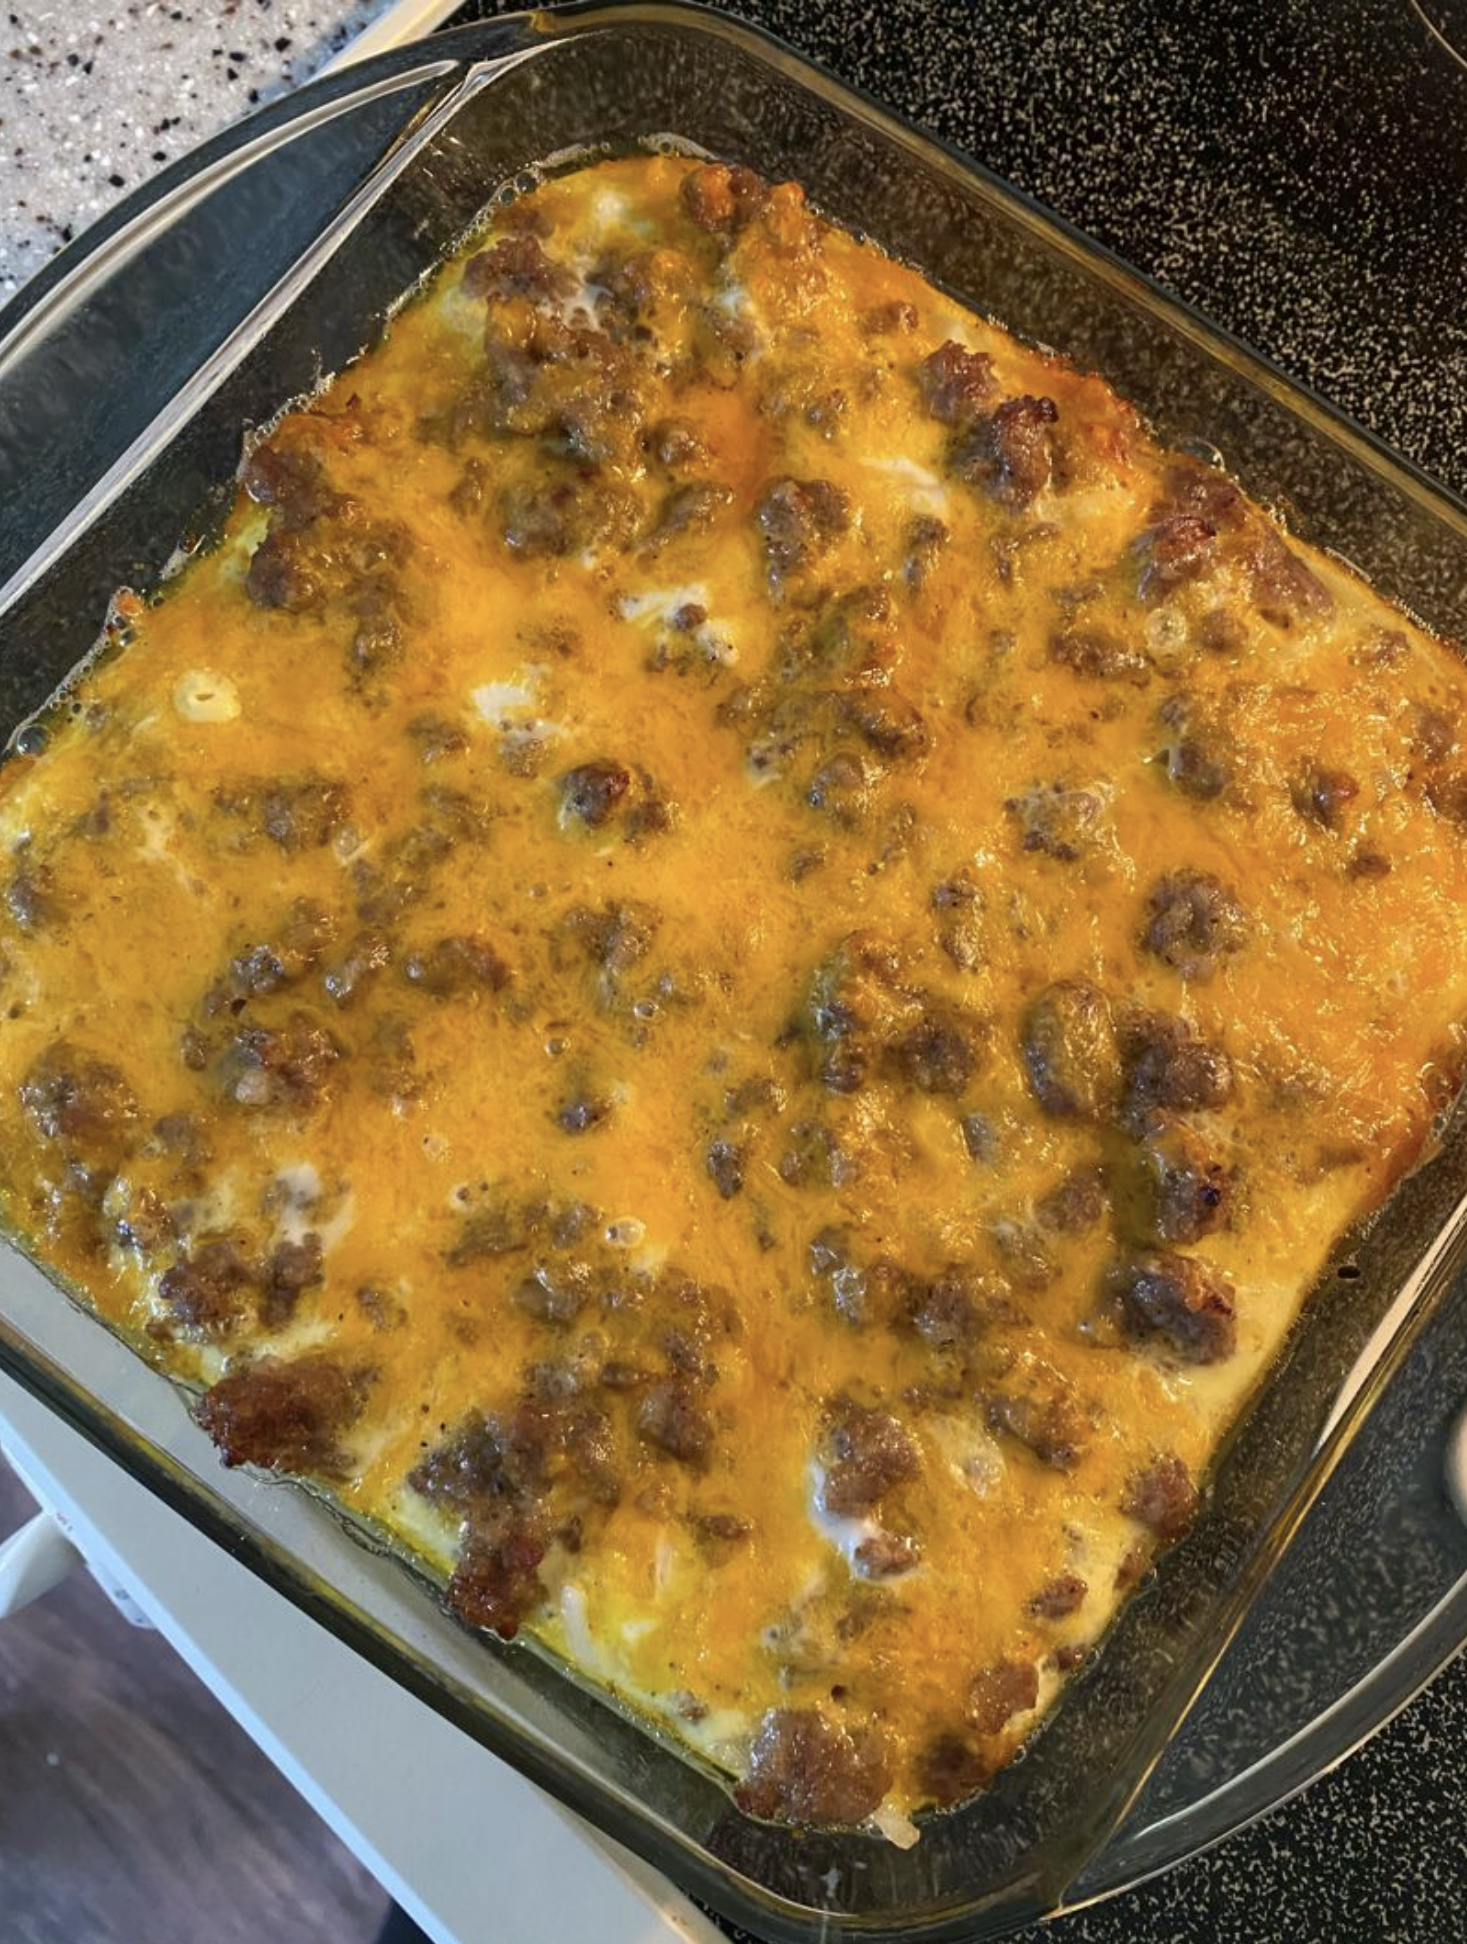
Sausage Hashbrown Breakfast Casserole
-
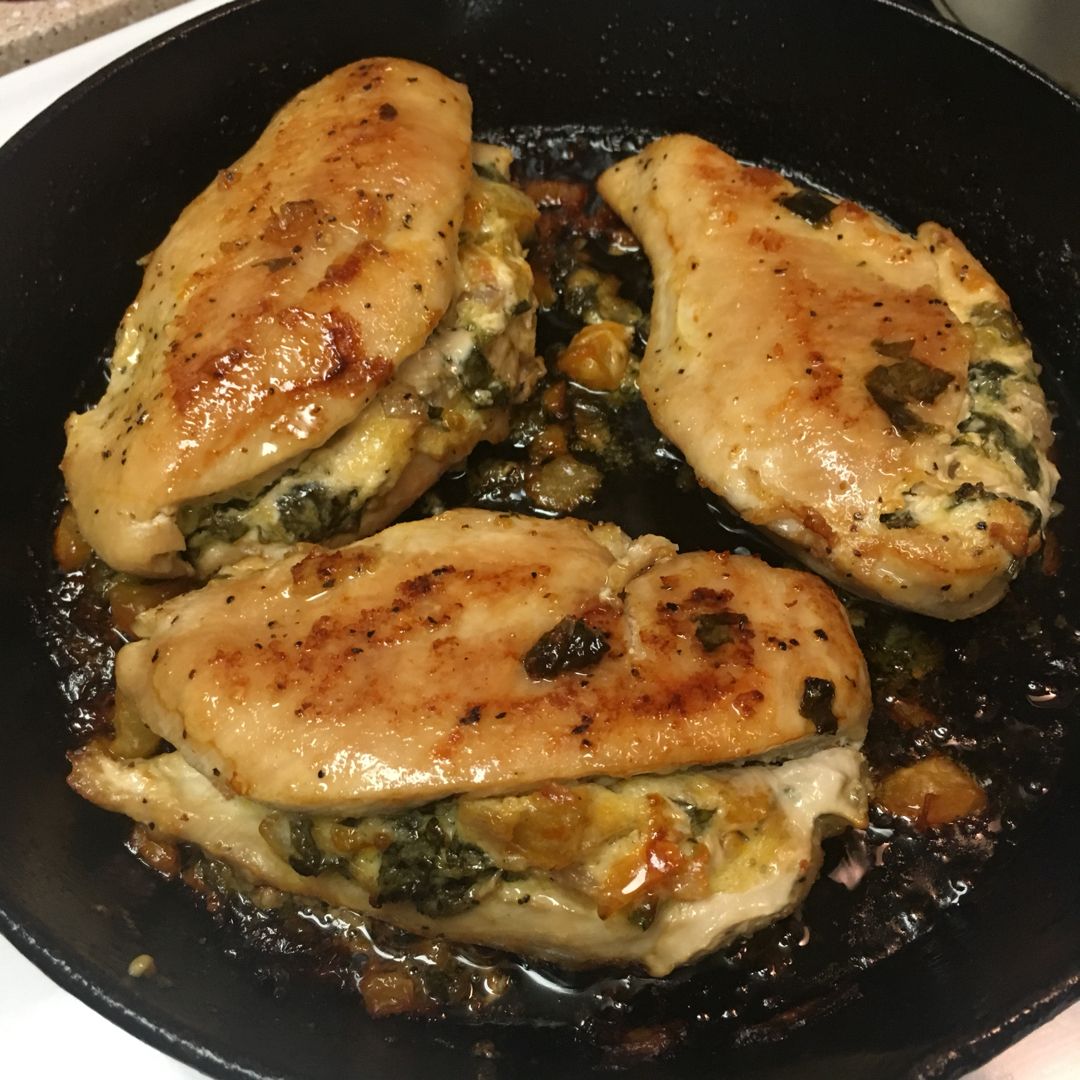
These Broccoli Cheddar Stuffed Chicken Breasts Are So Good You’ll Forget You’re Eating Healthy